Trail Tire Pressure Guide
One of the easiest and most effective modifications you can make for improved off-road performance is adjusting your tire pressure. Airing down increases your tire's contact patch, improves traction, reduces impact on your vehicle, and helps protect the trail surface. Here's everything you need to know about tire pressure management for off-road driving.

Why Air Down?
Lower tire pressure provides multiple benefits on the trail:
- Increased Traction - A larger contact patch means more rubber touching the ground, improving grip on rocks, mud, sand, and loose surfaces.
- Better Ride Quality - Lower pressure allows tires to absorb impacts rather than transmitting every bump to the vehicle and your spine.
- Improved Articulation - Softer tires conform better to terrain, helping maintain wheel contact on uneven surfaces.
- Less Trail Damage - Lower pressure reduces ground pressure, minimizing rutting and erosion.
- Tire Protection - Sidewall flex helps prevent punctures from sharp rocks.
Recommended Pressures by Terrain
Optimal pressure depends on terrain type, tire size, and vehicle weight. These recommendations assume standard all-terrain or mud-terrain tires on a typical Jeep Wrangler (3,500-4,500 lbs):
Moderate Dirt Roads and Easy Trails
Pressure: 25-28 PSI
For maintained dirt roads and easy trails without significant obstacles, a modest pressure reduction improves ride quality while maintaining good handling. This is a safe starting point for beginners learning to air down.
Rocky Technical Trails
Pressure: 18-22 PSI
Rock crawling benefits greatly from lower pressure. The increased contact patch improves traction on slick granite, and sidewall flex helps tires conform to irregular rock surfaces. This is the sweet spot for trails like the Rubicon or Fordyce Creek.
Mud and Loose Terrain
Pressure: 15-18 PSI
In mud, lower pressure helps tires "float" rather than sink. The wider contact patch spreads weight and improves floatation. However, be cautious about going too low, as extremely soft tires can allow sidewalls to fold and lose the bead.
Sand
Pressure: 12-15 PSI
Sand requires the lowest pressures for maximum floatation. Very soft sand might warrant even lower pressure if you have beadlock wheels. Without beadlocks, 12 PSI is about the safe minimum for most tires.
Snow
Pressure: 15-20 PSI
Similar to sand, lower pressure in snow improves floatation and traction. Deep powder benefits from lower pressure, while packed snow can work with slightly higher PSI.
Factors Affecting Optimal Pressure
Tire Size
Larger tires generally can run lower pressures safely. A 35-inch tire has more air volume than a 31-inch tire, so the same PSI results in a softer tire on the smaller wheel. Adjust recommendations based on your tire size:
- 30-31 inch tires: Add 2-3 PSI to recommendations above
- 33-35 inch tires: Use recommendations as listed
- 37+ inch tires: Can safely go 2-3 PSI lower
Vehicle Weight
Heavier vehicles need higher pressure to support the load. If you're running heavy armor, a rooftop tent, or lots of gear, add 2-4 PSI to compensate. The tire should maintain its shape under load without excessive bulging.
Beadlocks vs. Standard Wheels
Beadlock wheels mechanically clamp the tire bead to the rim, preventing the tire from losing its seal at very low pressures. Without beadlocks, stay above 12 PSI to avoid de-beading, especially on rocks that can catch the sidewall.
How to Air Down Properly
Before hitting the trail, air down to appropriate pressure:
- Check current pressure with accurate gauge
- Calculate target pressure based on terrain
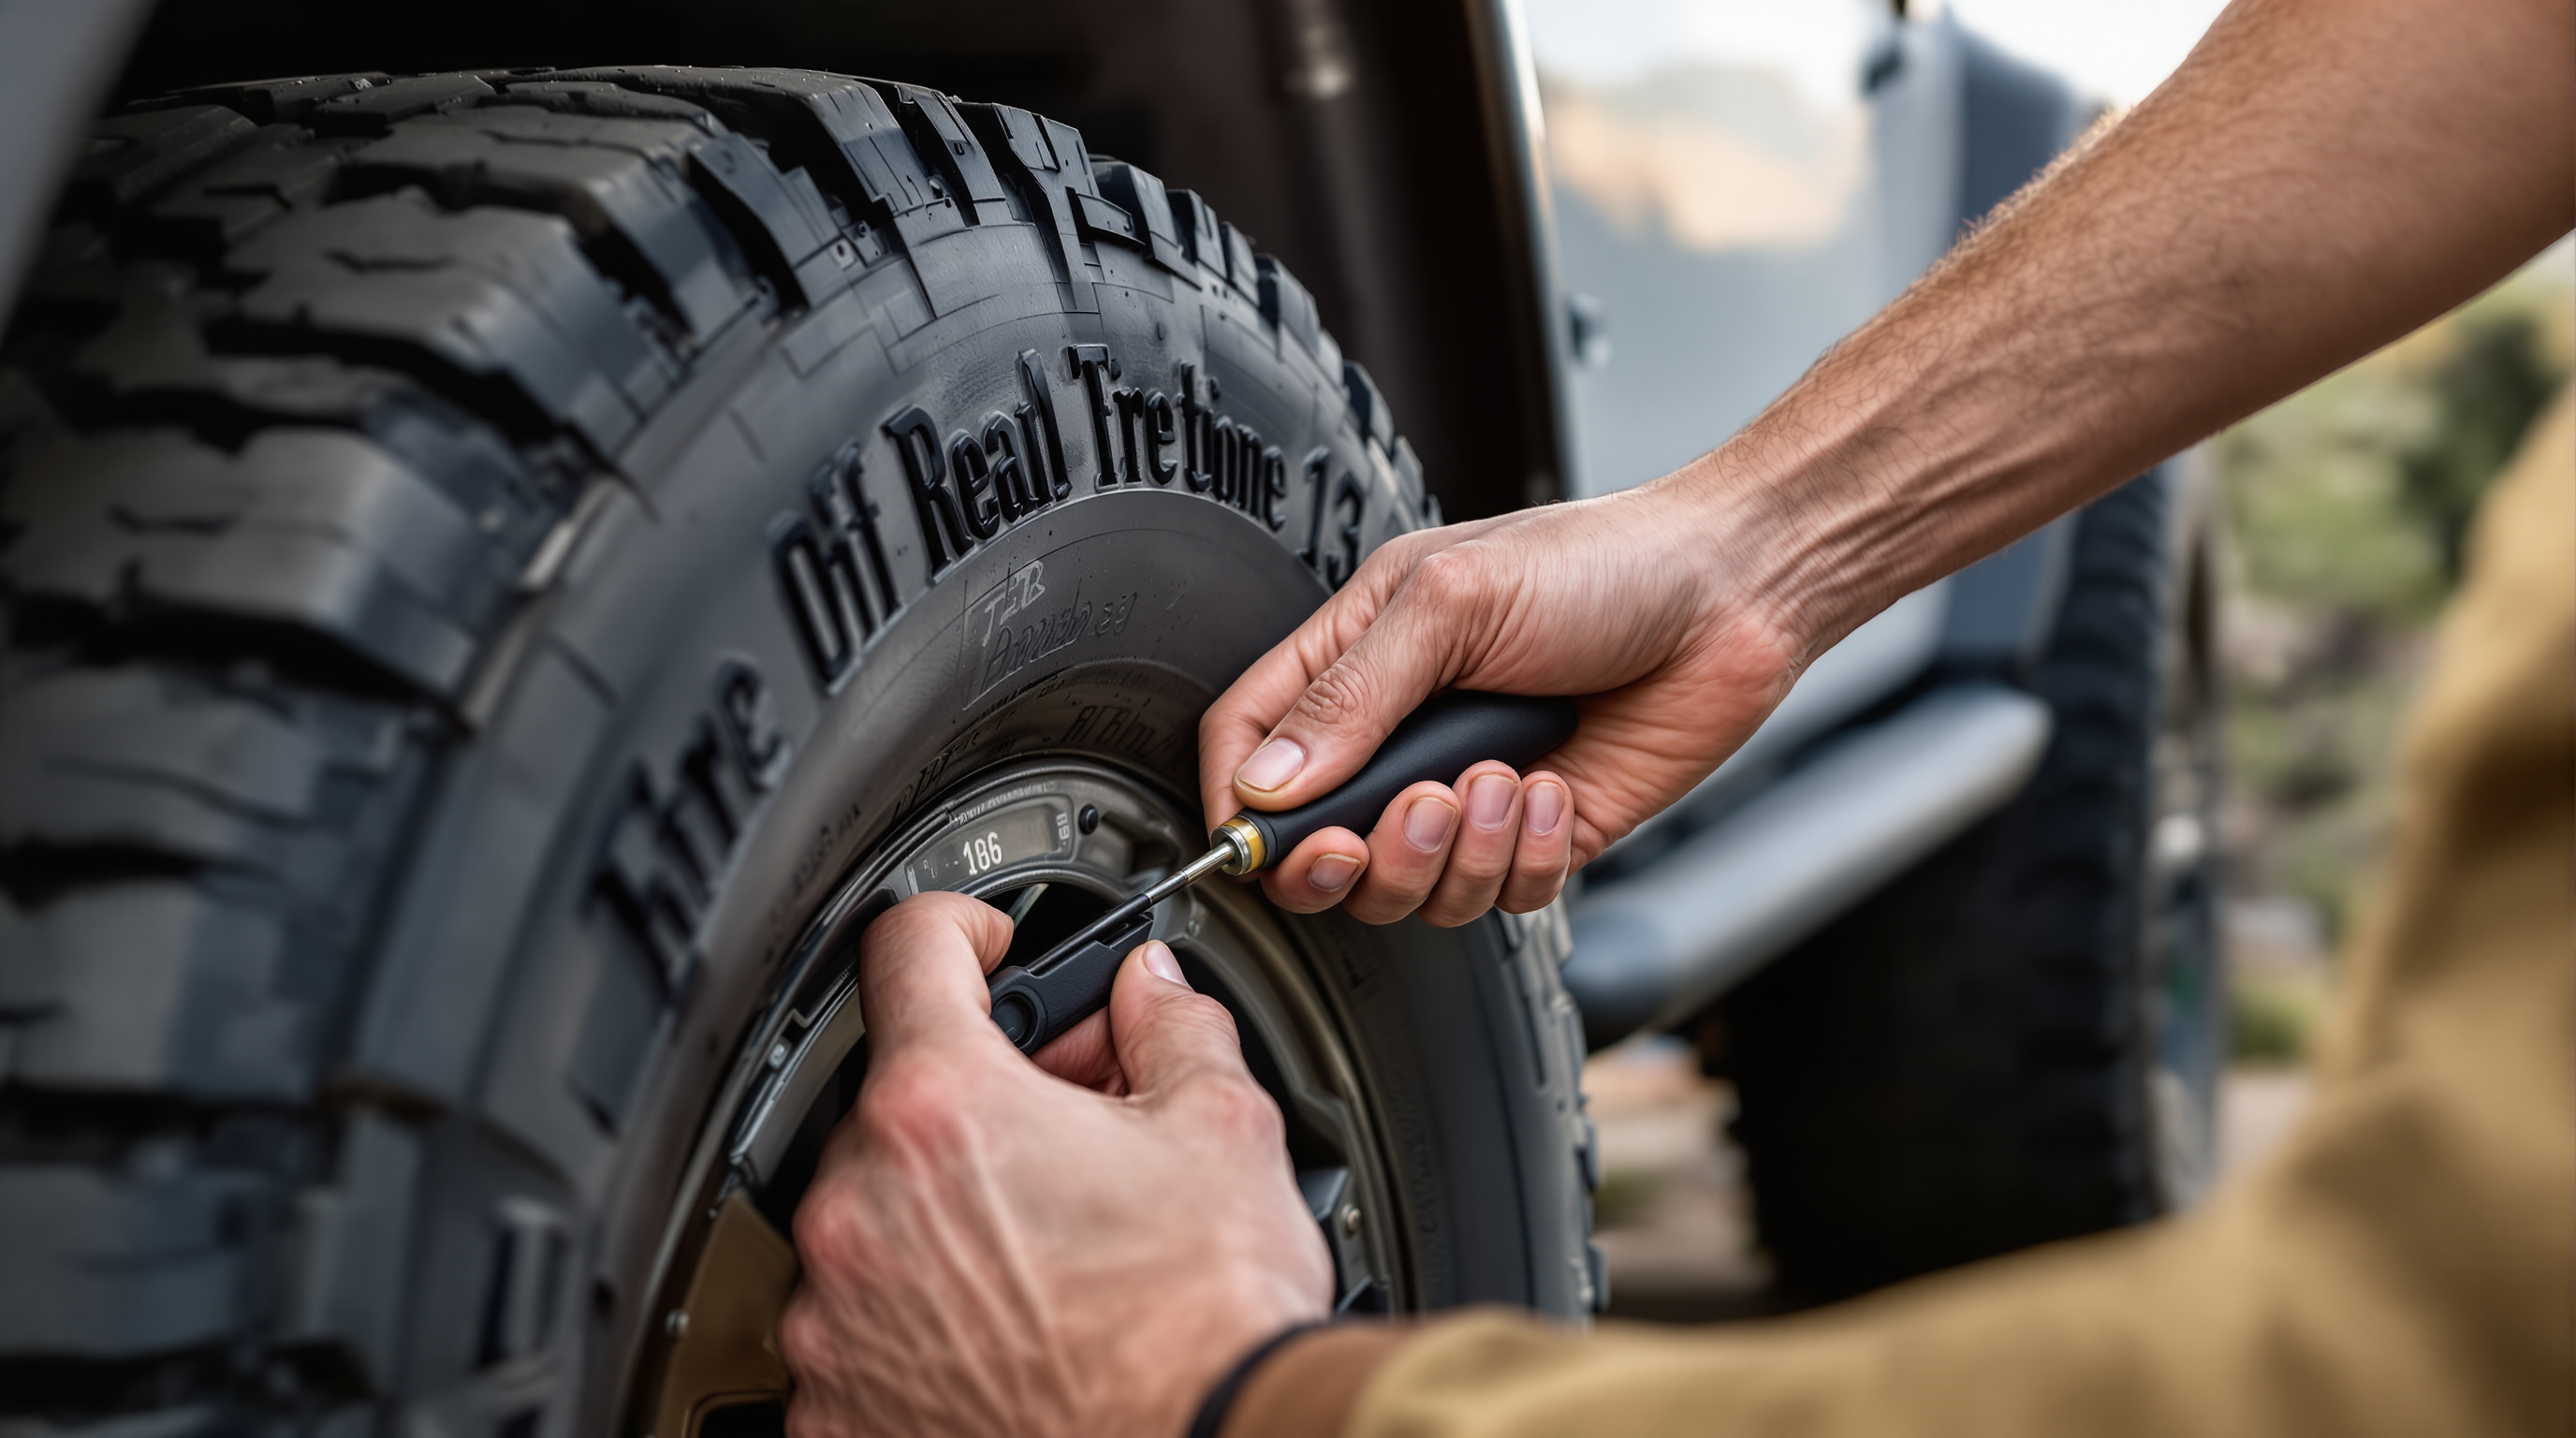
- Remove valve stem cap and use deflator tool or gauge to release air
- Check pressure frequently - it's easy to overshoot
- Ensure all four tires are at same pressure for balanced handling
- Replace valve caps to prevent dirt contamination
Dedicated deflator tools like the Staun or ARB deflators allow you to set target pressure and walk away while they automatically deflate to the preset level. These are huge time-savers when wheeling with groups.
The Critical Rule: Air Back Up!
Never drive on highways with trail pressures. Operating at low pressure on pavement causes:
- Excessive tire wear, especially on sidewalls
- Heat buildup that can cause tire failure
- Poor handling and reduced stability
- Dangerous blowout risk
- Damage to tire structure
Always carry an onboard air compressor or CO2 inflation system to air back up before returning to paved roads. Portable 12V compressors like the Viair or ARB models can inflate a 35-inch tire from 15 to 35 PSI in about 5-8 minutes.
According to tire manufacturers like Goodyear, operating significantly below recommended highway pressure for extended periods will void tire warranties and can cause catastrophic failure.
Monitoring Pressure on the Trail
Tire pressure can change during trail runs due to temperature and altitude changes. Check pressure periodically, especially:
- After significant elevation changes
- When moving from cold morning to hot afternoon conditions
- If handling feels off or tires appear over/under-inflated
- After any impact that might have damaged a tire
Start Conservative
If you're new to airing down, start conservative. It's better to be slightly higher than optimal than to damage a tire by going too low. As you gain experience, you'll develop a feel for how your specific tires perform at different pressures.
Keep a log of what pressures worked well for different trails and conditions. Over time, you'll dial in the perfect setup for your vehicle and driving style.
For more trail preparation tips, check our essential items to carry guide and trail driving techniques.